
- Home
- Products
- Fixed prostheses
- Laminate Veneers
Laminate Veneers
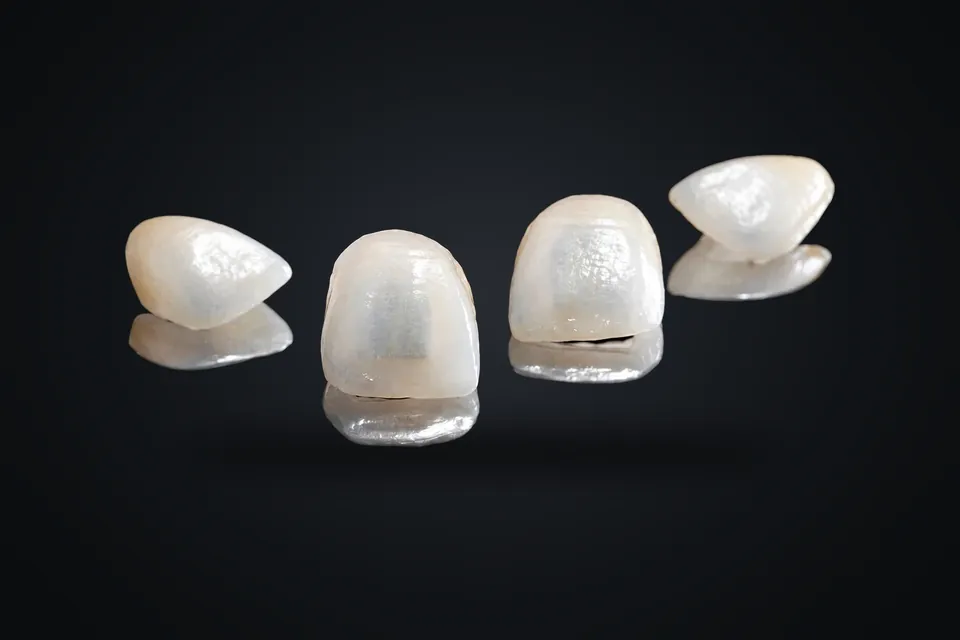
A laminate veneer is a thin ceramic restoration bonded adhesively to the labial surface of anterior teeth. We produce laminates in IPS e.max and agree length and form with you on a wax-up and mock-up before preparation.
Indications
When to choose it
- Discolouration that does not respond to whitening
- Irregularities of form and size, peg laterals
- Diastema closure (according to the treatment plan)
- Aesthetic correction of minor malpositions
- Incisal edge fractures and wear
Points to discuss with the laboratory
- Marked bruxism and edge-to-edge occlusion increase the risk of fracture; occlusion and a night guard should be planned together.
- If most of the preparation is in dentine, the adhesive bond is weaker; a crown should be considered.
- With very dark discolouration, a thin veneer may not mask the shade; thickness and opacity should be discussed in advance.
For the dentist
Advance planning with a wax-up
Length, form and smile line are first built in wax. With the mock-up key, the result can be tried on the patient.
Translucency plan
Ingot and section thickness are chosen according to the abutment shade and target shade. Incisal transitions are created by staining and layering.
Margin and contact check
Thin margins and contact points are checked on the model. Edge thickness is corrected before delivery.
Materials
| Material | Brand | Note |
|---|---|---|
| IPS e.max Press | Ivoclar | Lithium disilicate that can be pressed in thin sections |
| Vitapan 3D-Master | VITA | Shade matching |
Manufacturer and CE details of materials are on the Quality page.
What we need when you send a case
- Pre-preparation impression or scan (for the wax-up)
- Precision impression or scan after preparation, opposing arch and bite registration
- Facial photographs: at rest, smiling and retracted close-up
- Target shade and abutment shade (VITA guide, photograph with the shade tab in the mouth)
- Patient approval after the mock-up and notes on length
- Notes on canine guidance and protrusive contacts
Production process
- Diagnostic wax-upThe target form and length are built in wax on the study model and a mock-up key is prepared.
- Dentist approvalAfter the mock-up, the wax-up is revised according to your notes and the final form is approved.
- Wax-up and pressingThe veneers are waxed up on the preparation model and pressed from an IPS e.max ingot.
- Shade and surface characterIncisal translucency and surface texture are created by staining and, where needed, layering.
- Symmetry checkMarginal fit, contacts and midline symmetry are checked on the model.
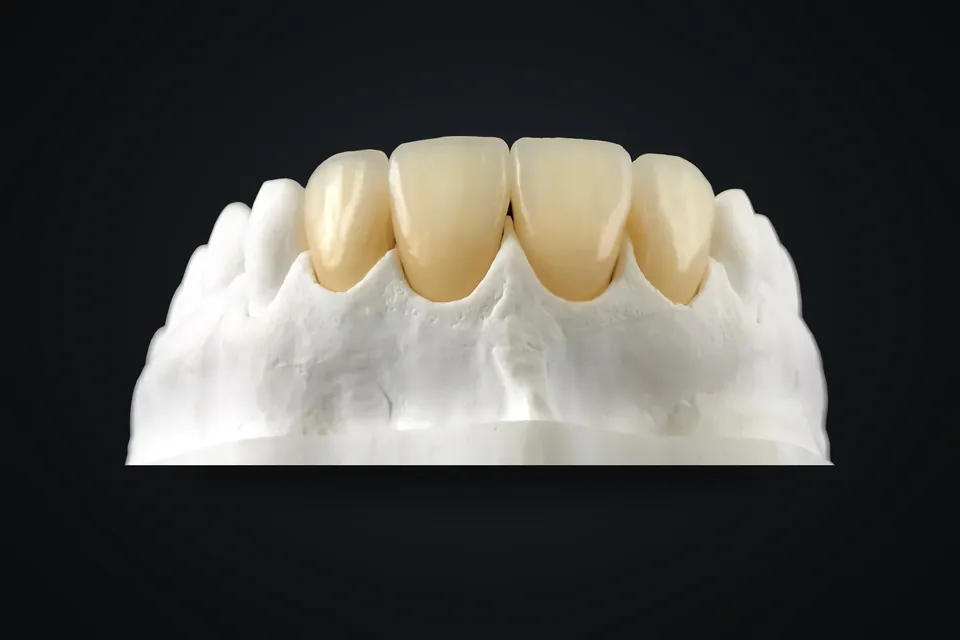
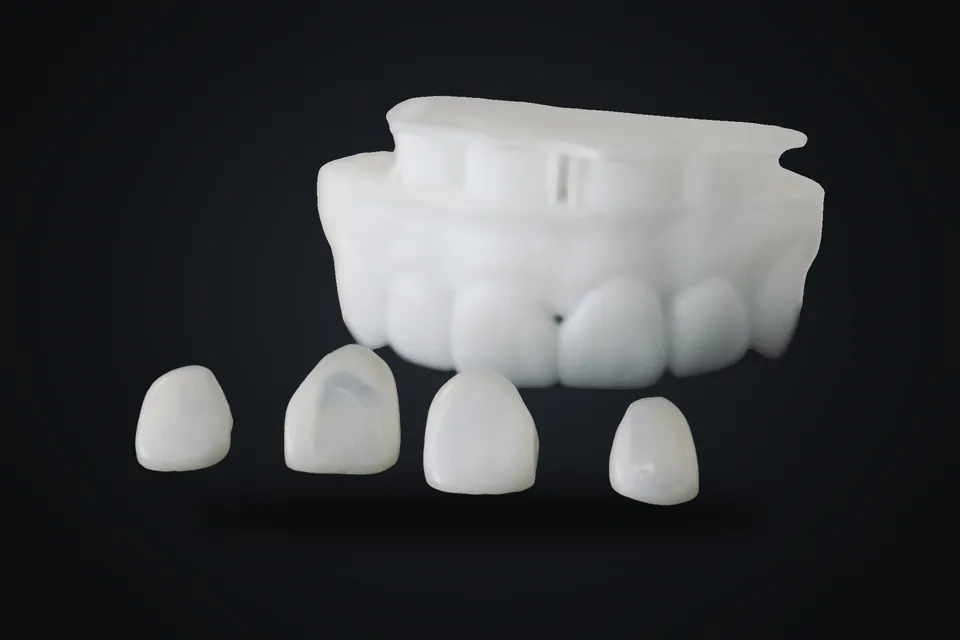
Photographs
Frequently asked questions
How much preparation does a laminate need?
The amount of reduction depends on the target shade change and the form defined by the wax-up. Depth-controlled preparation through a mock-up helps preserve enamel. This is why it is important to request the wax-up before preparation.
Can laminates be made without preparation?
If the tooth form and target position allow, minimal-prep or no-prep veneers can be planned. In that case there is a risk of an over-contoured result and a ledge at the margin. The decision should be made together on the wax-up.
What happens if there is a shade difference at the try-in?
Before cementation, shade is assessed with try-in pastes; the cement shade can compensate for small differences. If the difference is marked, the veneer is re-shaded or remade based on the photographs you send.
Frequently requested with this case
Pressed e.max ceramics and porcelain-fused-to-metal
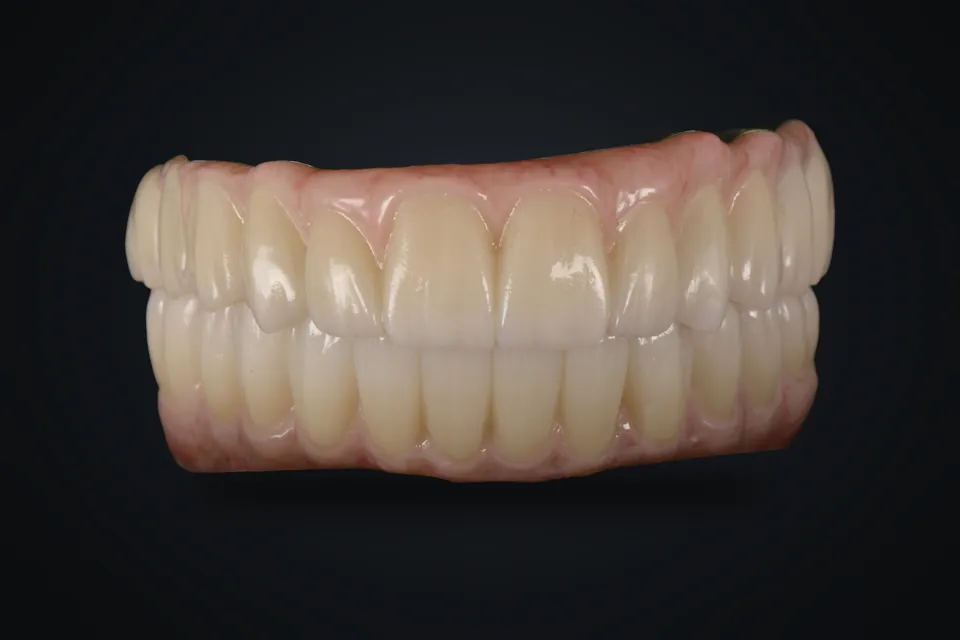
Pressed IPS e.max ceramics and Noritake porcelain-fused-to-metal, for anterior aesthetics and long bridges.
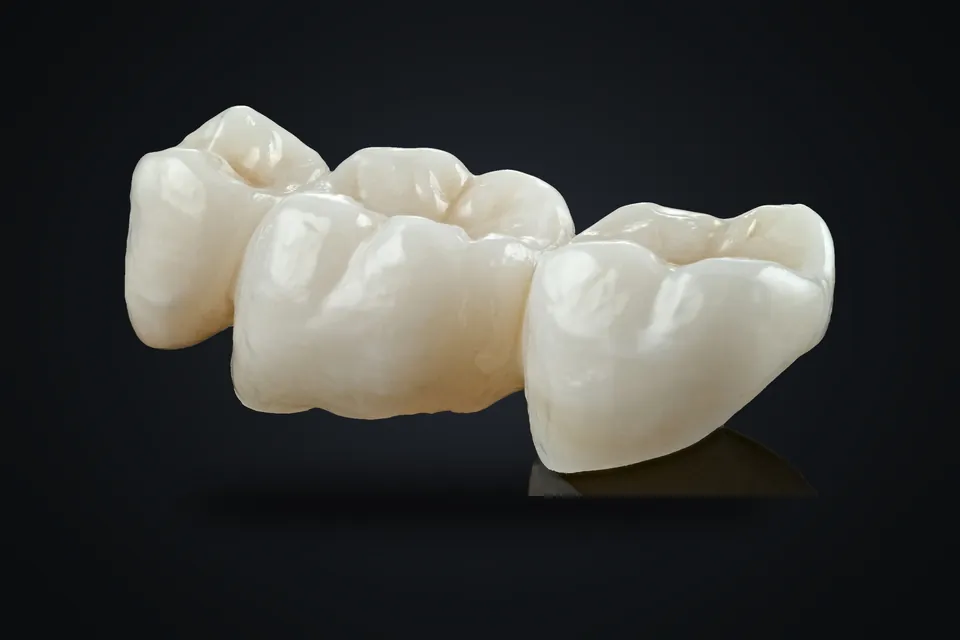
Zirconia Crowns and Bridges
Monolithic or layered zirconia crowns and bridges; CAD/CAM milling, sintering and shading.
Inlays, Onlays and Overlays
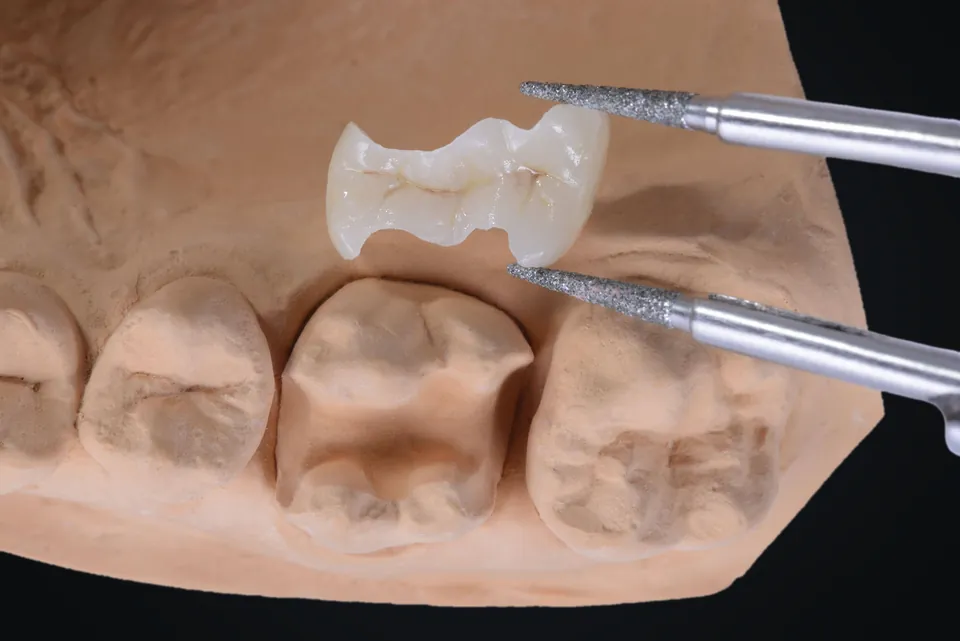
IPS e.max inlays, onlays and overlays: adhesively cemented restorations that preserve sound tooth structure.
Send your laminate veneer case.
Fill in the form or call us. Your case manager responds within 24 hours.