
- Home
- Products
- Fixed prostheses
- Inlay / Onlay
Inlays, Onlays and Overlays
Inlays and onlays are partial ceramic restorations that preserve sound tooth structure instead of a crown, where tissue loss exceeds the limits of a composite filling. For these restorations, made in IPS e.max, we adjust contacts and occlusion on the articulator to reduce chairside adjustment.
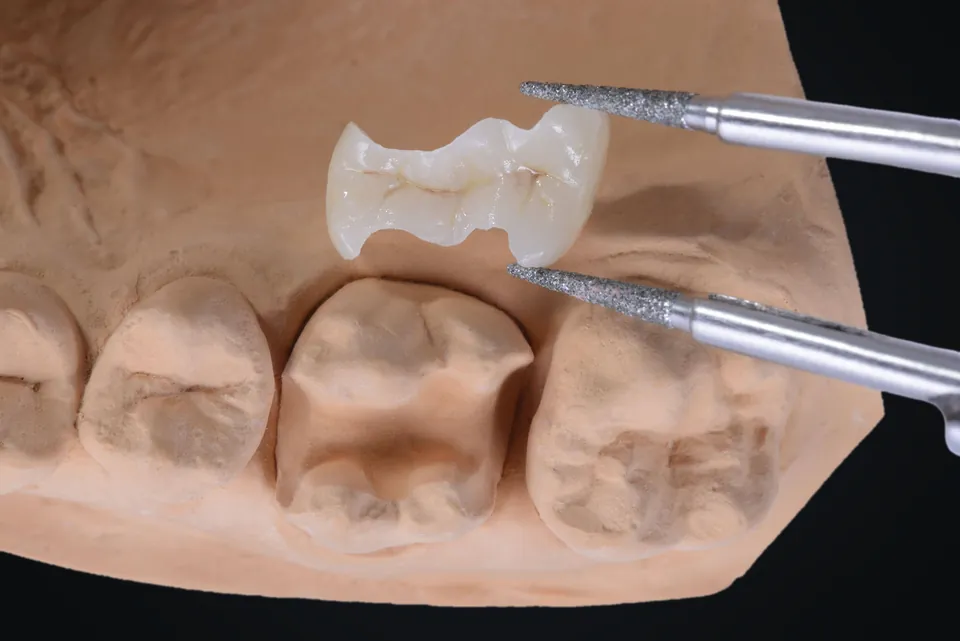
Indications
When to choose it
- Large Class II cavities that are difficult to manage with fillings
- Premolars and molars with cusp loss (onlay)
- Overlays covering the cusps of root-filled teeth (according to the dentist's plan)
- Replacement of old amalgam or composite fillings
Points to discuss with the laboratory
- Adhesive cementation is not reliable on subgingival margins where a dry field cannot be achieved; margin elevation or a crown should be considered.
- In a patient with parafunction, insufficient occlusal thickness increases the risk of fracture.
- Undercuts and sharp internal angles compromise production and seating; the preparation must be free of them.
For the dentist
A tissue-preserving alternative
Sound tooth structure is retained; only the lost area is restored in ceramic.
Contact adjustment on the articulator
Proximal contacts and occlusal contacts are adjusted on the model before delivery.
Shade transition at the margin
The translucency of lithium disilicate blends into the tooth shade at the margins. Fissure character can be added with staining.
Materials
| Material | Brand | Note |
|---|---|---|
| IPS e.max | Ivoclar | Lithium disilicate; pressed or milled from a block, according to the case plan |
| Vitapan 3D-Master | VITA | Shade matching |
Manufacturer and CE details of materials are on the Quality page.
What we need when you send a case
- Impression or scan in which the cavity margins are clearly readable
- Opposing arch and bite registration
- Shade (VITA guide) and dentine shade at the cavity floor
- Note on contacts with adjacent teeth
- Close-up photograph for shade (recommended)
Production process
- Cavity analysisPath of insertion, undercuts and minimum ceramic thickness are checked on the model.
- Wax-up or designOcclusal anatomy and proximal contacts are modelled against the opposing arch.
- Pressing or millingThe restoration is pressed in IPS e.max or milled from a block.
- Fit adjustmentInternal fit, contacts and occlusion are adjusted on the model.
- Staining and glazeShade and fissure character are added by staining, then the glaze is fired.
Frequently asked questions
What should I consider when preparing for an inlay?
Walls should be slightly divergent, with no undercuts or sharp internal angles. Sufficient ceramic thickness must be provided on the occlusal surface, and margins placed outside the contact points. Undercuts can be blocked out with composite before the impression.
Should I choose an inlay or an onlay?
If the cusps are sound and thick enough, an inlay may be sufficient. For thin or weakened cusps, an onlay covering the cusp reduces the risk of fracture. The decision depends on cavity geometry and the dentist's assessment.
How is an e.max inlay cemented?
E.max inlays and onlays are adhesively cemented: the intaglio surface is etched with hydrofluoric acid and silanised. Isolation with rubber dam improves bond reliability. Follow the cement manufacturer's instructions.
Frequently requested with this case
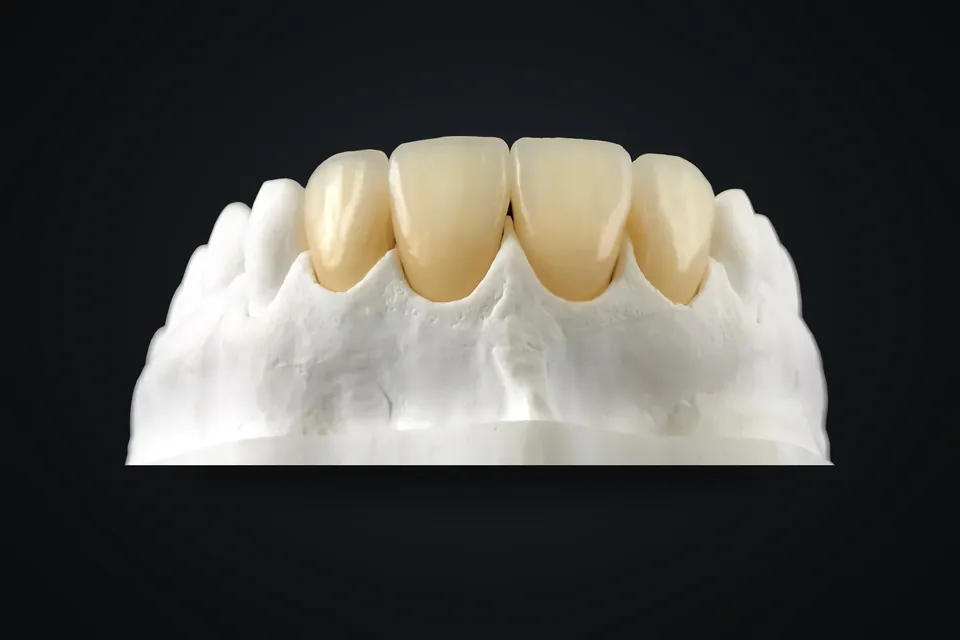
Pressed e.max ceramics and porcelain-fused-to-metal
Pressed IPS e.max ceramics and Noritake porcelain-fused-to-metal, for anterior aesthetics and long bridges.
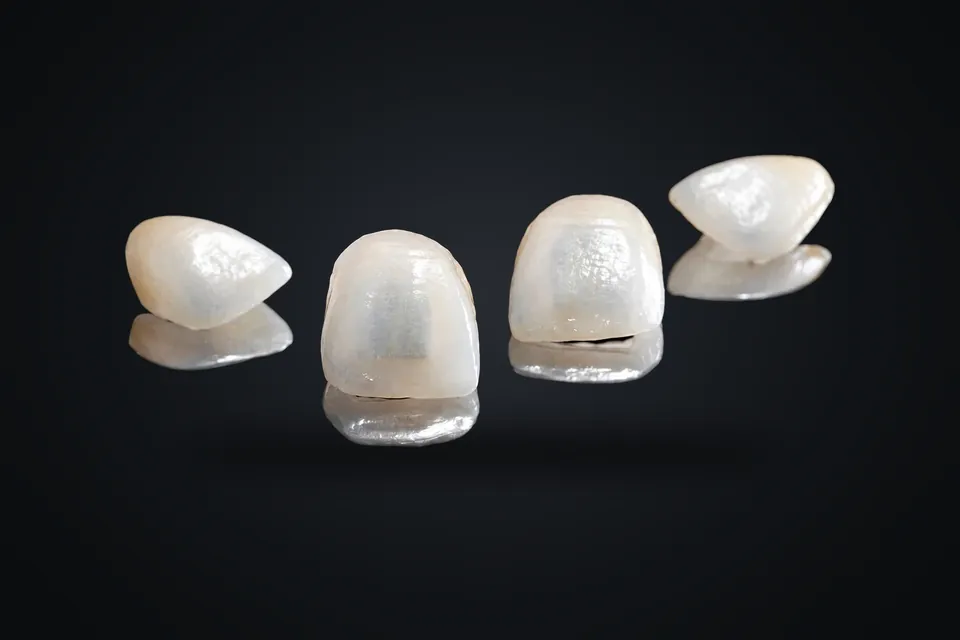
Laminate Veneers
IPS e.max laminate veneers; form, shade and length are planned in advance with a wax-up and mock-up.
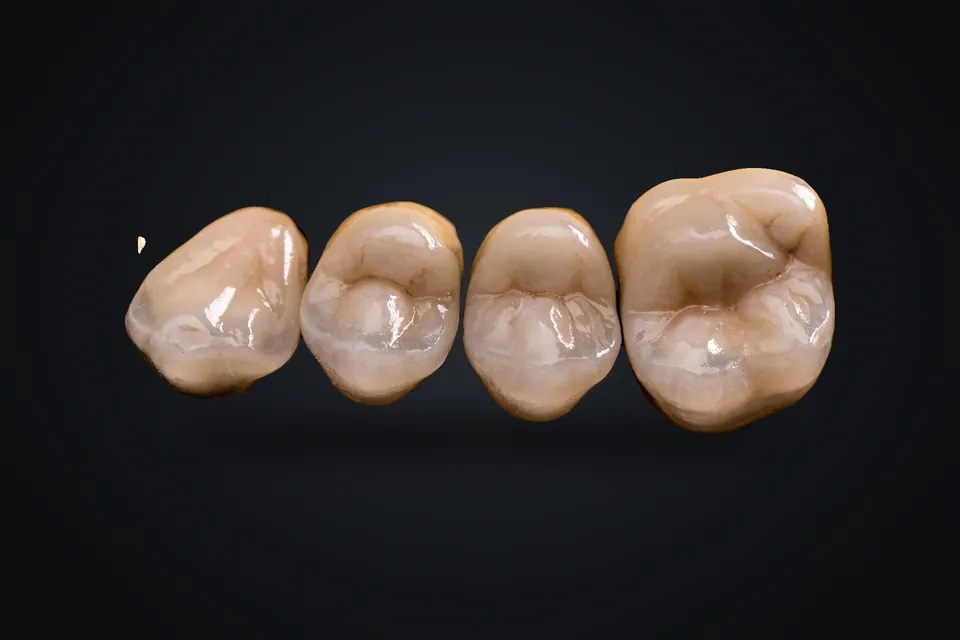
Crowns and Bridges
Single crowns, multi-unit bridges and posts and cores, in zirconia, e.max or porcelain-fused-to-metal.
Send your inlay / onlay case.
Fill in the form or call us. Your case manager responds within 24 hours.